Detailed Guide to Homemade Bread Recipe:
The Joy of Homemade Bread There’s something uniquely special about the aroma of freshly baked bread wafting through your home. Whether you’re dipping a slice into olive oil, pairing it with a savory dish, or simply enjoying it with butter, bread is a versatile staple that complements any meal. Imagine impressing your friends and family with a homemade loaf that looks like it came from a professional bakery. Good news—it’s easier than you think! With this simple homemade bread recipe, you’ll be able to make a soft, crusty loaf in just a few hours, using basic ingredients found in your pantry.
Why Make Bread at Home? Store-bought bread is convenient, but making it at home allows you to control the quality and ingredients. Plus, nothing beats the taste and texture of fresh bread straight from your oven. If you’ve ever been intimidated by the idea of baking your own bread, fear not—this recipe is designed for beginners and seasoned bakers alike. All you need is a bit of patience and a few common kitchen items.
Understanding the Ingredients
- Sugar: Helps activate the yeast and provides a slight sweetness to the bread.
- Active Dry Yeast: This leavening agent is essential for the bread to rise and develop its fluffy texture.
- Warm Water: Activates the yeast and binds the ingredients together. Be sure to use water that’s warm but not hot (around 110°F) to avoid killing the yeast.
- All-Purpose or Bread Flour: Bread flour has a higher protein content, which results in a chewier texture, but all-purpose flour works well too.
- Kosher Salt: Adds flavor and helps to balance the yeast activity.
Patience is Key The most challenging part of making bread is waiting for the dough to rise. If you plan to serve this bread with dinner, start the process at least three hours in advance. This way, the bread will be warm and fresh when it’s time to eat. The recipe calls for two rises—one to allow the yeast to work its magic and another to perfect the shape of the dough.
How to Shape Your Dough Shaping your dough properly is a crucial step for achieving a well-formed loaf. Once the dough has risen for the first time, you’ll gently fold it into a ball without pressing out the air. This folding technique ensures that the dough remains airy and soft. After shaping, the dough is placed back into the bowl for its second rise.
Baking in a Dutch Oven A Dutch oven is ideal for baking bread because it traps steam, helping to create a crispy, golden crust. Preheat your Dutch oven while the dough rises a second time to ensure it’s hot enough when you place the dough inside. Once the dough is in the pot, you’ll bake it with the lid on for the first part of the cooking process, which allows the inside of the bread to cook evenly. Then, you’ll remove the lid for the final 15 minutes to achieve that beautiful crust.
Tips & Tricks
- Fresh Yeast Matters: Always check the expiration date on your yeast. If your yeast is old, your dough may not rise properly, resulting in a dense loaf.
- Warm Rising Environment: Yeast thrives in warm environments. If your kitchen is cold, try placing the dough inside an unheated oven with a bowl of hot water underneath. The steam will create a warm environment that encourages the dough to rise.
- Gentle Handling: When transferring the dough for shaping, handle it with care to preserve its airy texture. Overworking the dough can deflate it and result in a dense loaf.
- Baking Time: Keep an eye on your bread during the final 15 minutes of baking. Depending on your oven, the crust may brown faster, so check for doneness by tapping the bottom of the loaf—it should sound hollow.
Serving and Storing Once your bread is baked and cooled for 15 minutes, slice it and serve. It pairs well with soups, salads, and a variety of main dishes. If you have leftovers, store the bread in an airtight container or wrap it in a clean kitchen towel to keep it fresh. Avoid storing it in the fridge, as this can cause the bread to dry out. Bread can also be frozen—simply wrap it tightly in plastic wrap and foil before freezing.
Why This Recipe Works This recipe uses basic techniques and ingredients to create a loaf that’s both soft and crusty. The high heat of the Dutch oven creates steam, giving the bread a professional-quality crust. The two rising periods ensure the dough is light and airy, while the simple ingredients allow the flavor of the bread to shine.
Final Thoughts Once you make this homemade bread, you’ll see just how simple and rewarding bread baking can be. With a little patience and attention to detail, you can create a loaf that rivals those from the bakery. Whether you’re serving it with dinner or enjoying it as a snack, homemade bread is a treat everyone will love.
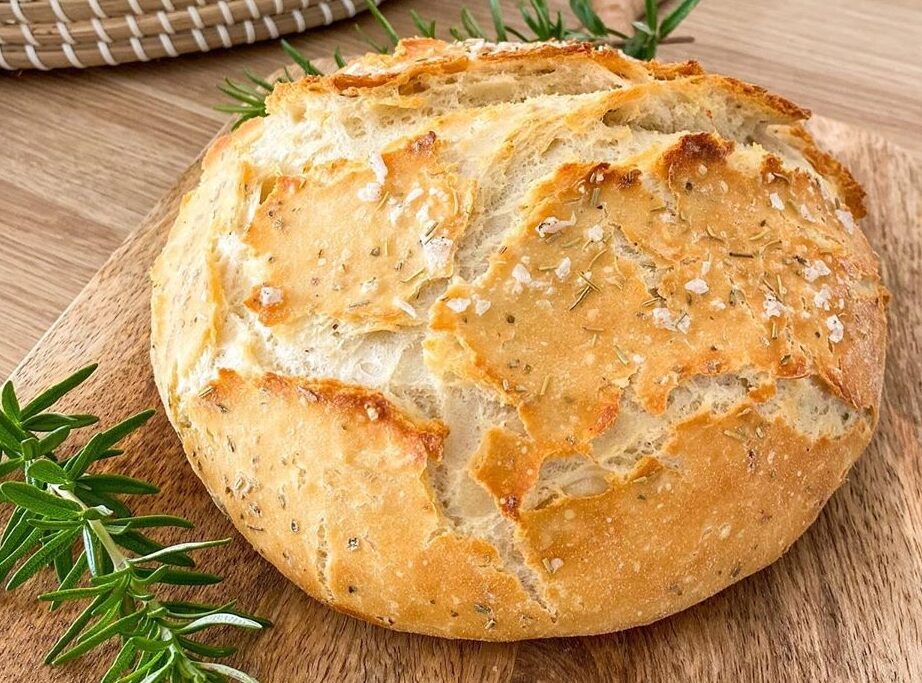

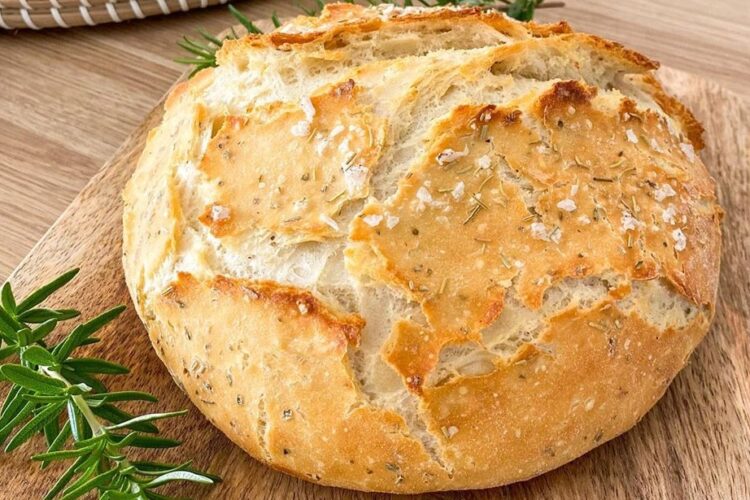
Homemade Bread
1
hour40
minutes45
minutes2
hours25
minutesA simple, easy-to-follow recipe for homemade bread that results in a soft, crusty loaf. Perfect for beginners and experienced bakers alike.
Ingredients
1 tsp sugar
1 tsp active dry yeast
1 1/4 cups warm water (around 110°F)
2 1/2 cups all-purpose or bread flour
1 1/2 tsp kosher salt

Directions
- In a mixing bowl, combine sugar, yeast, and warm water. Let sit for 5 minutes until foamy.
- Add kosher salt. Using a dough hook on a stand mixer (or kneading by hand), slowly mix in flour until the dough forms.
- Lightly sprinkle dough with flour, cover with a damp towel, and let rise for 1 hour in a warm area.
- After the dough has doubled, gently transfer it to a floured surface, shape it into a ball by folding the sides inward, and place it back in the bowl for 30 minutes.
- Preheat oven to 460°F with a Dutch oven inside.
- Transfer dough into the preheated Dutch oven, cover with the lid, and bake for 30 minutes.
- Remove the lid and bake for an additional 15 minutes until the crust is golden.
- Let cool for 15 minutes before slicing.
Notes
- Ensure yeast is fresh for the best rise.
For a warm rise, place dough in an unheated oven with a bowl of hot water below.
Nutrition Facts (Per Slice)
- Calories: 120kcal
- Fat: 0.5g
- Saturated Fat: 0g
- Trans Fat: 0g
- Cholesterol: 0mg
- Sodium: 290mg
- Carbohydrates: 24g
- Fiber: 1g
- Sugar: 0.5g
- Protein: 3g
- Calcium: 2mg
- Iron: 8mg